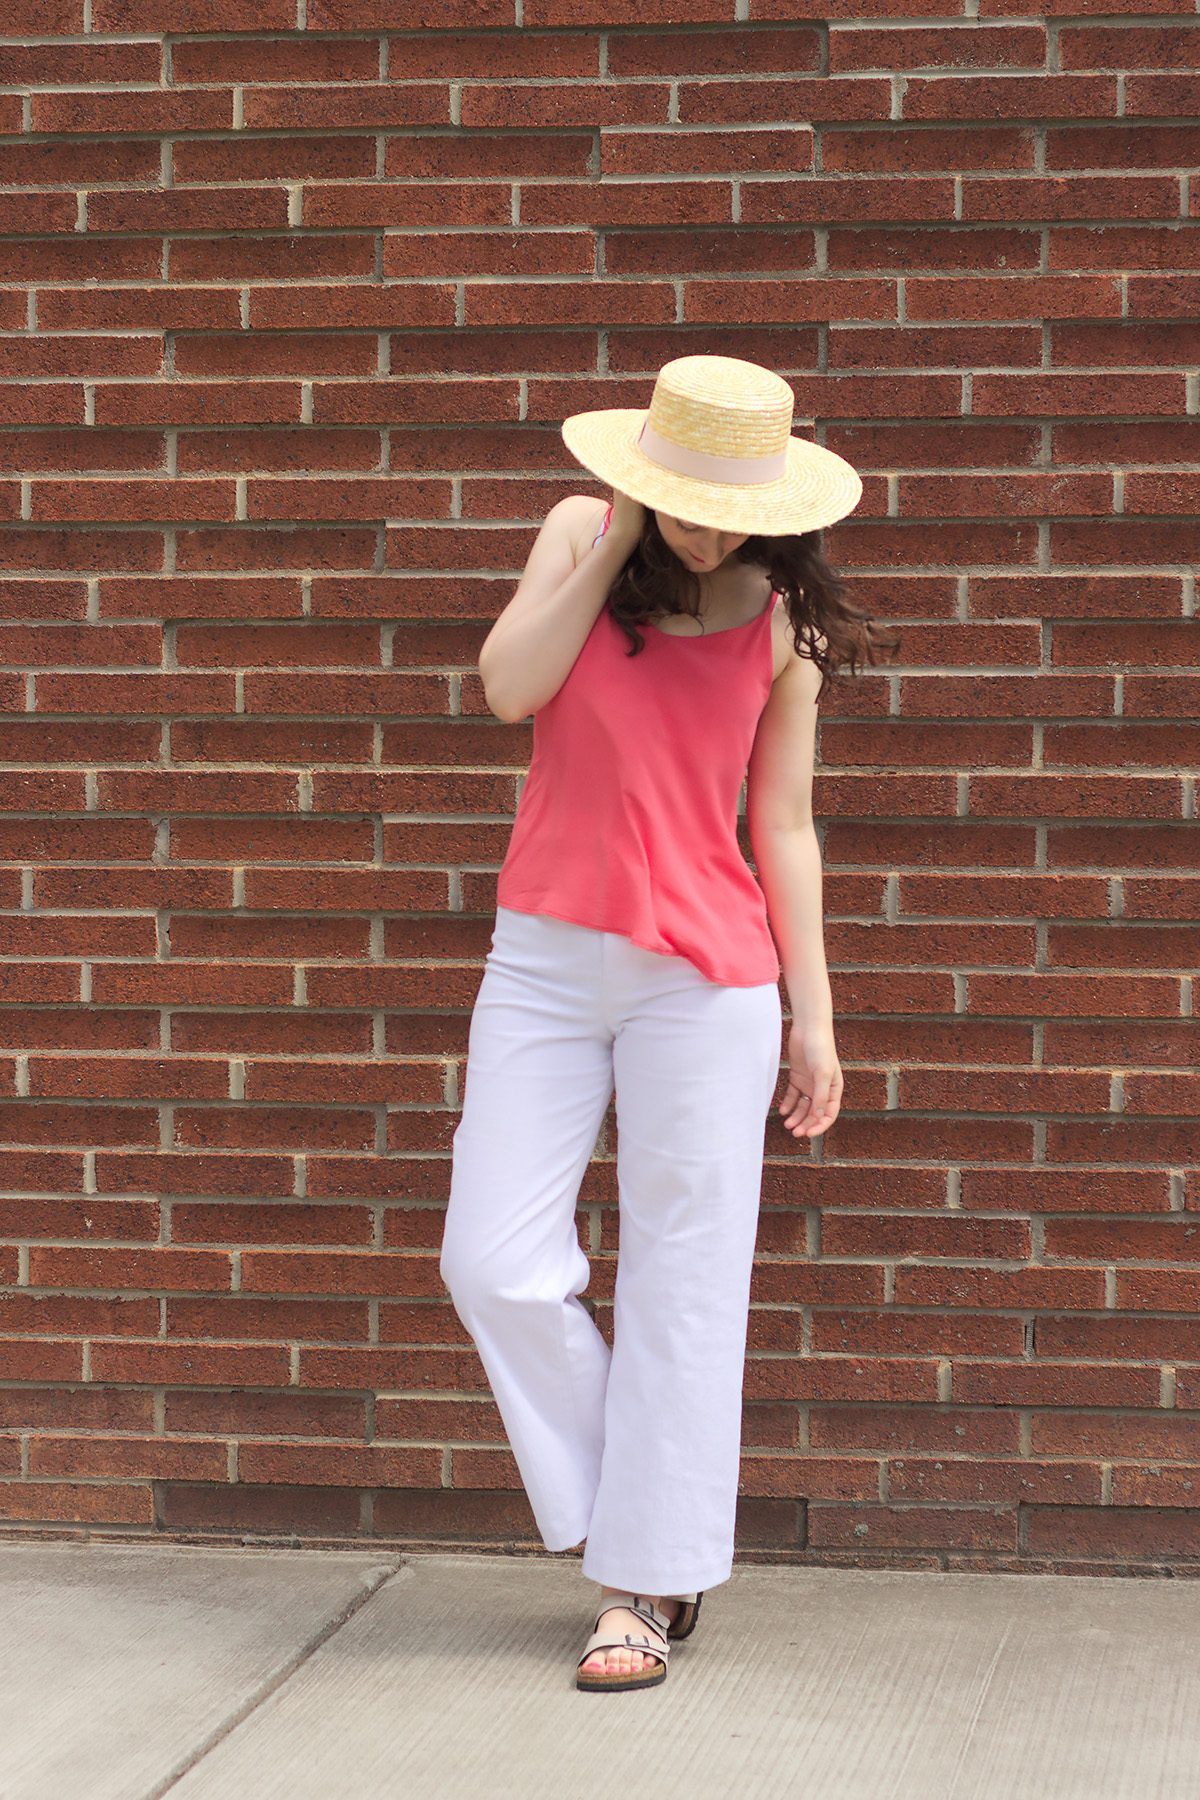
I say last summer, but actually these pants were THE pants maybe two years ago… or was it three? I’m talking of course about the Persephone pants by Anna Allen.
Personally, I bought into the trend a bit late, in March of last year. I had completely fallen for the style and originality of the model, but the prospect of having to make adjustments on a pants pattern with no side seams really made me drag my feet.
That was the big question: without side seams, how do you go about grading between sizes when you have a large hip/waist ratio? One possibility would be to simply take in the back darts, as done by Katie from What Katie Sews or Jasika Nicole. I was going to go with that, but Eléonore advised me to grade between sizes on both sides of the pattern piece instead, in order to avoid messing up with the grainline. This turns out to be the technique favored by the designer of the pattern. I had some doubts about the possibility of grading over more than one size, so I graded from a 4 at the waist to a 6 at the hips, while removing 5 mm at the front crotch and adding 5 mm to the back to accommodate my butt.
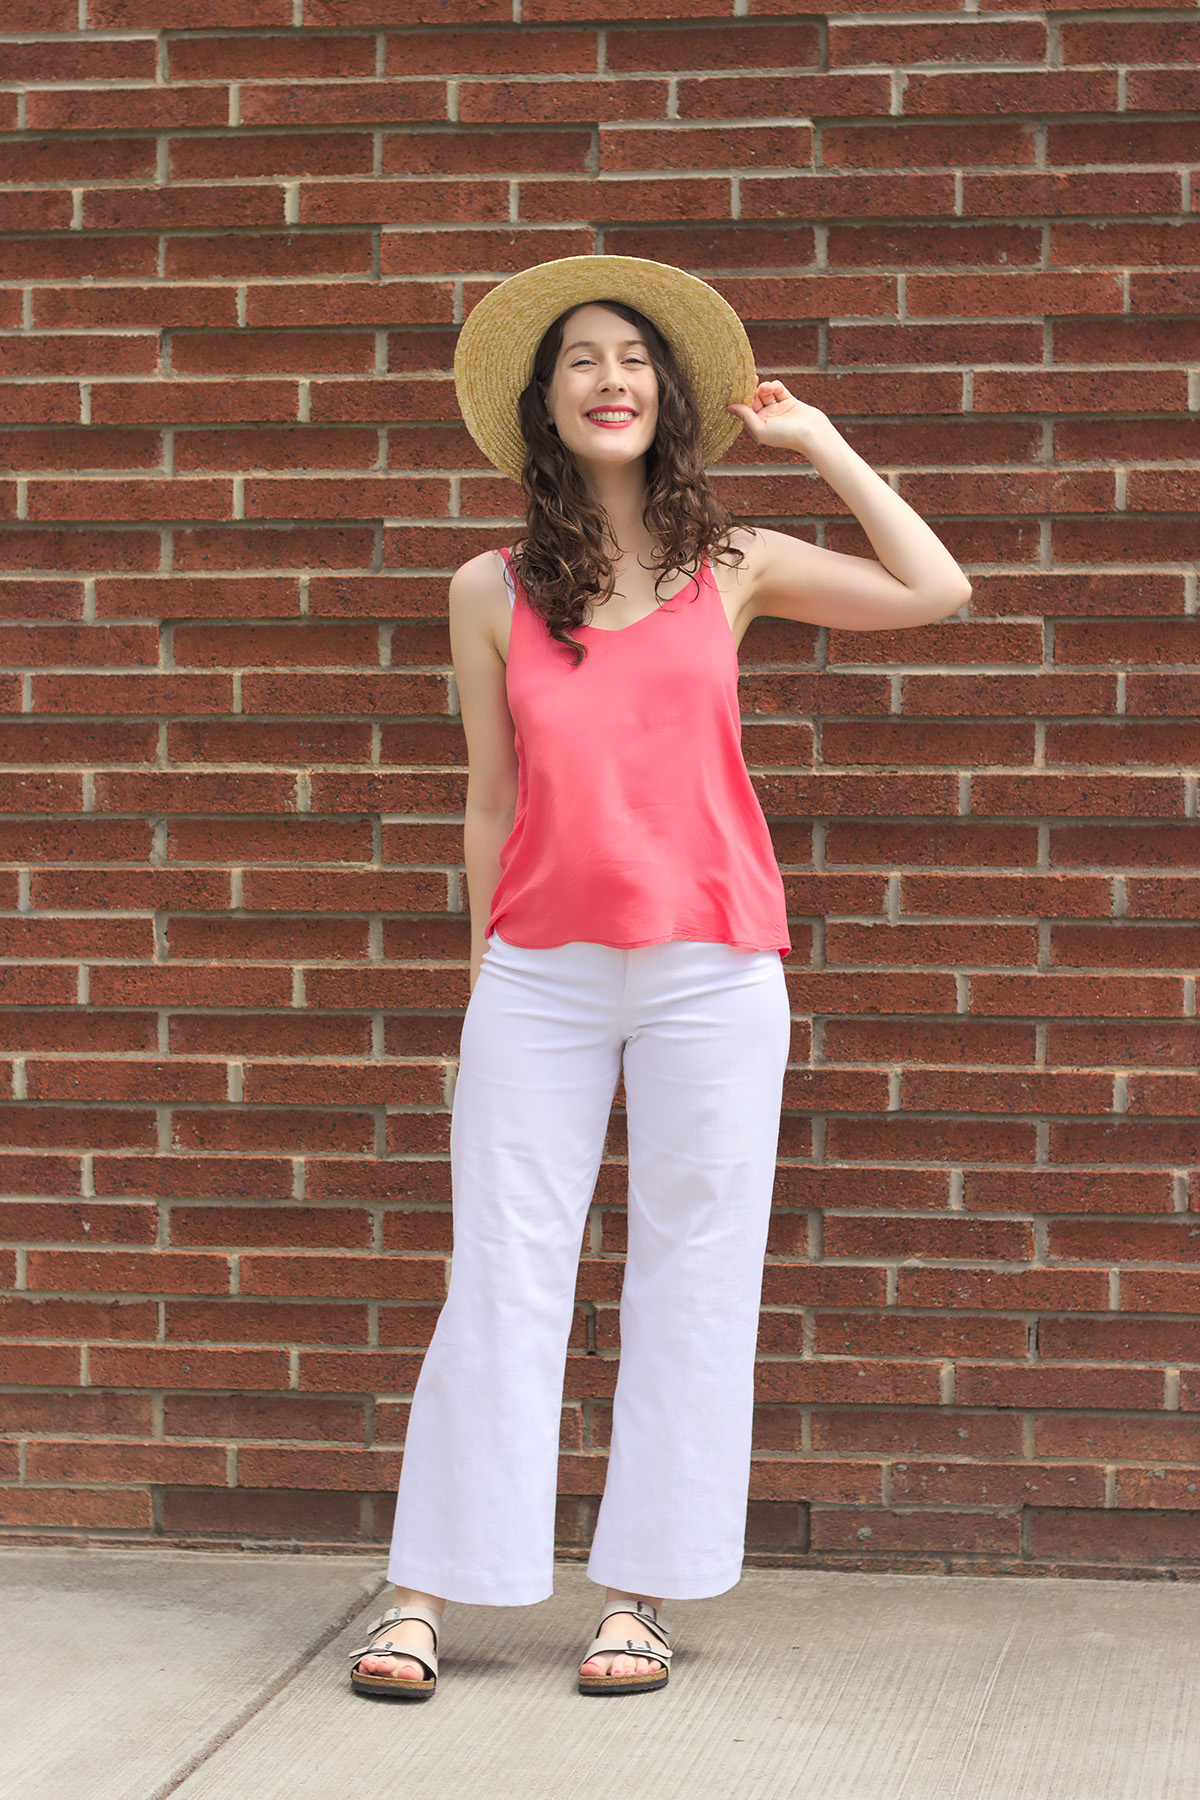
I wasn’t sure about the cropped length, so I cut the length for size 16, telling myself that I could always shorten the pants later. In the end I left the hem as is and I quite like that length.
The fabric is a slightly stretchy (10%) white denim, purchased from Toto Tissus. In retrospect it was not very suitable for this pattern: something heavier would have been good, and even though the stretch is not that significant it would have been better without. I don’t know the exact weight but at first glance I would say it is between 200 and 250 g/m² (medium weight), and it would have been better to go with 300 g/m² or more (medium-heavy). The most successful versions I have seen are made with 10 oz. Duck Canvas, like this one, so around 340 g/m². I’m thinking about ordering from the same website where she got her fabric, as the color selection and prices are impressive.
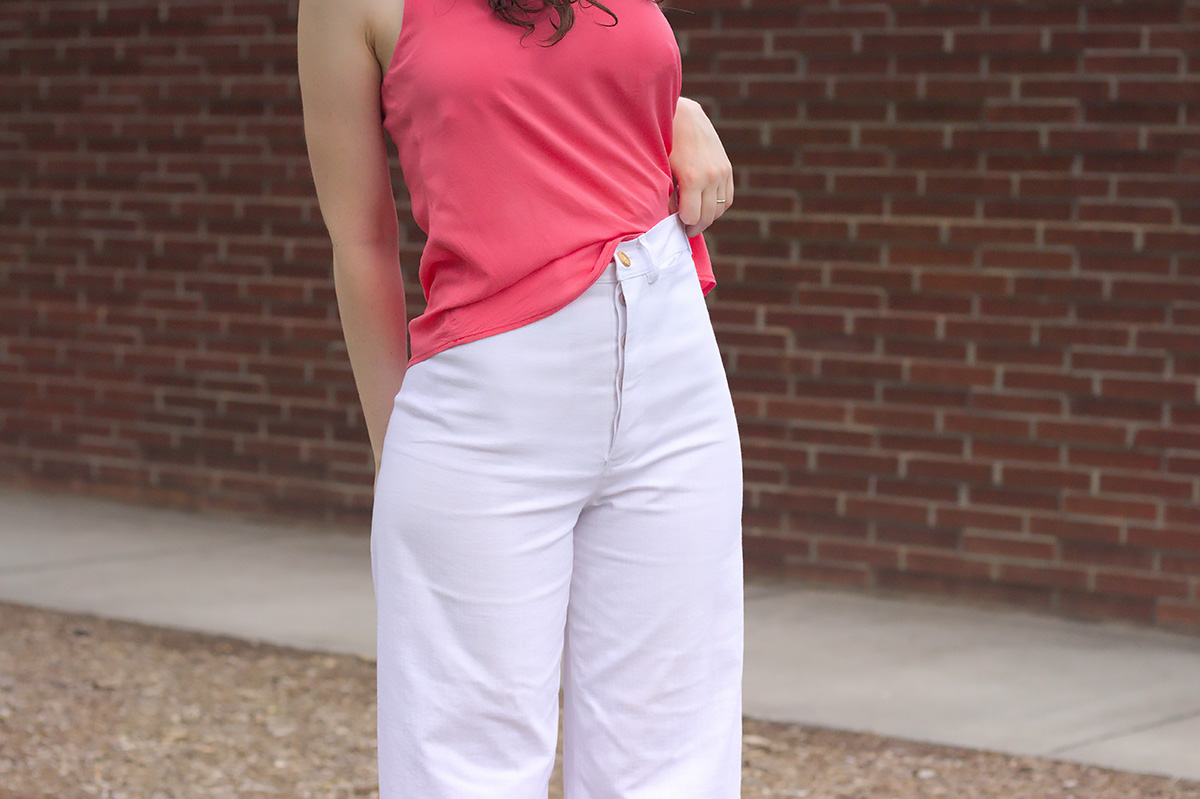
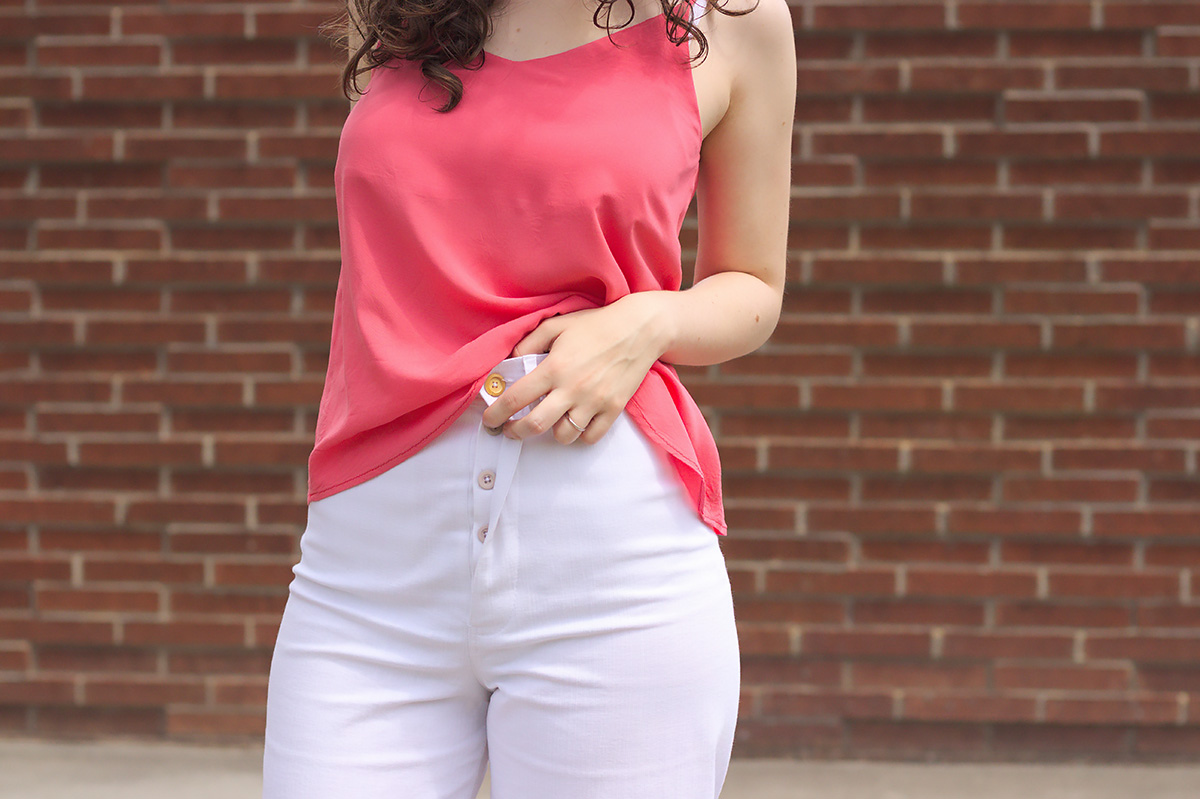
Back to the pattern. The instructions are really good, and I love the way the fly in particular is assembled: it’s done in the very first steps, before the legs are sewn together, which makes it very easy to sew and gives a perfect result. On the other hand, I’m not convinced by the reality of a button fly, especially on pants that are so tight at the hips. It is pretty thick (even though I was careful to pick very flat buttons) and since there’s a lot of tension in that area it tends to gape like a shirt that is too tight at the chest. With a classic zipper fly the problem does not arise, because the tension is distributed over the entire height of the zipper. I saw this trick on Tessuti’s blog about stitching a line between each buttonhole to help distribute the tension, and it looks like it works really well.
When I sewed it in March of last year it was absolutely unwearable because it was too tight despite the stretch of the fabric. Then after losing a little weight in the summer it looked much better and was aaaalmost wearable. This summer I did not wear it because I gained a few pounds during lock-down and could not close it anymore… and now I went down a size again at the hips, but it’s almost fall. We’ll see if it gets any wear next year!
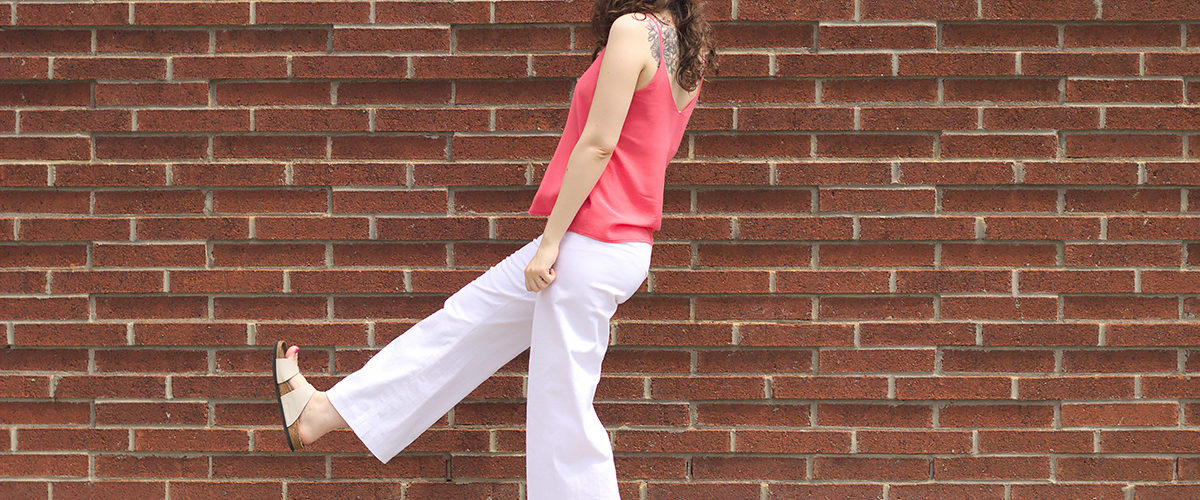
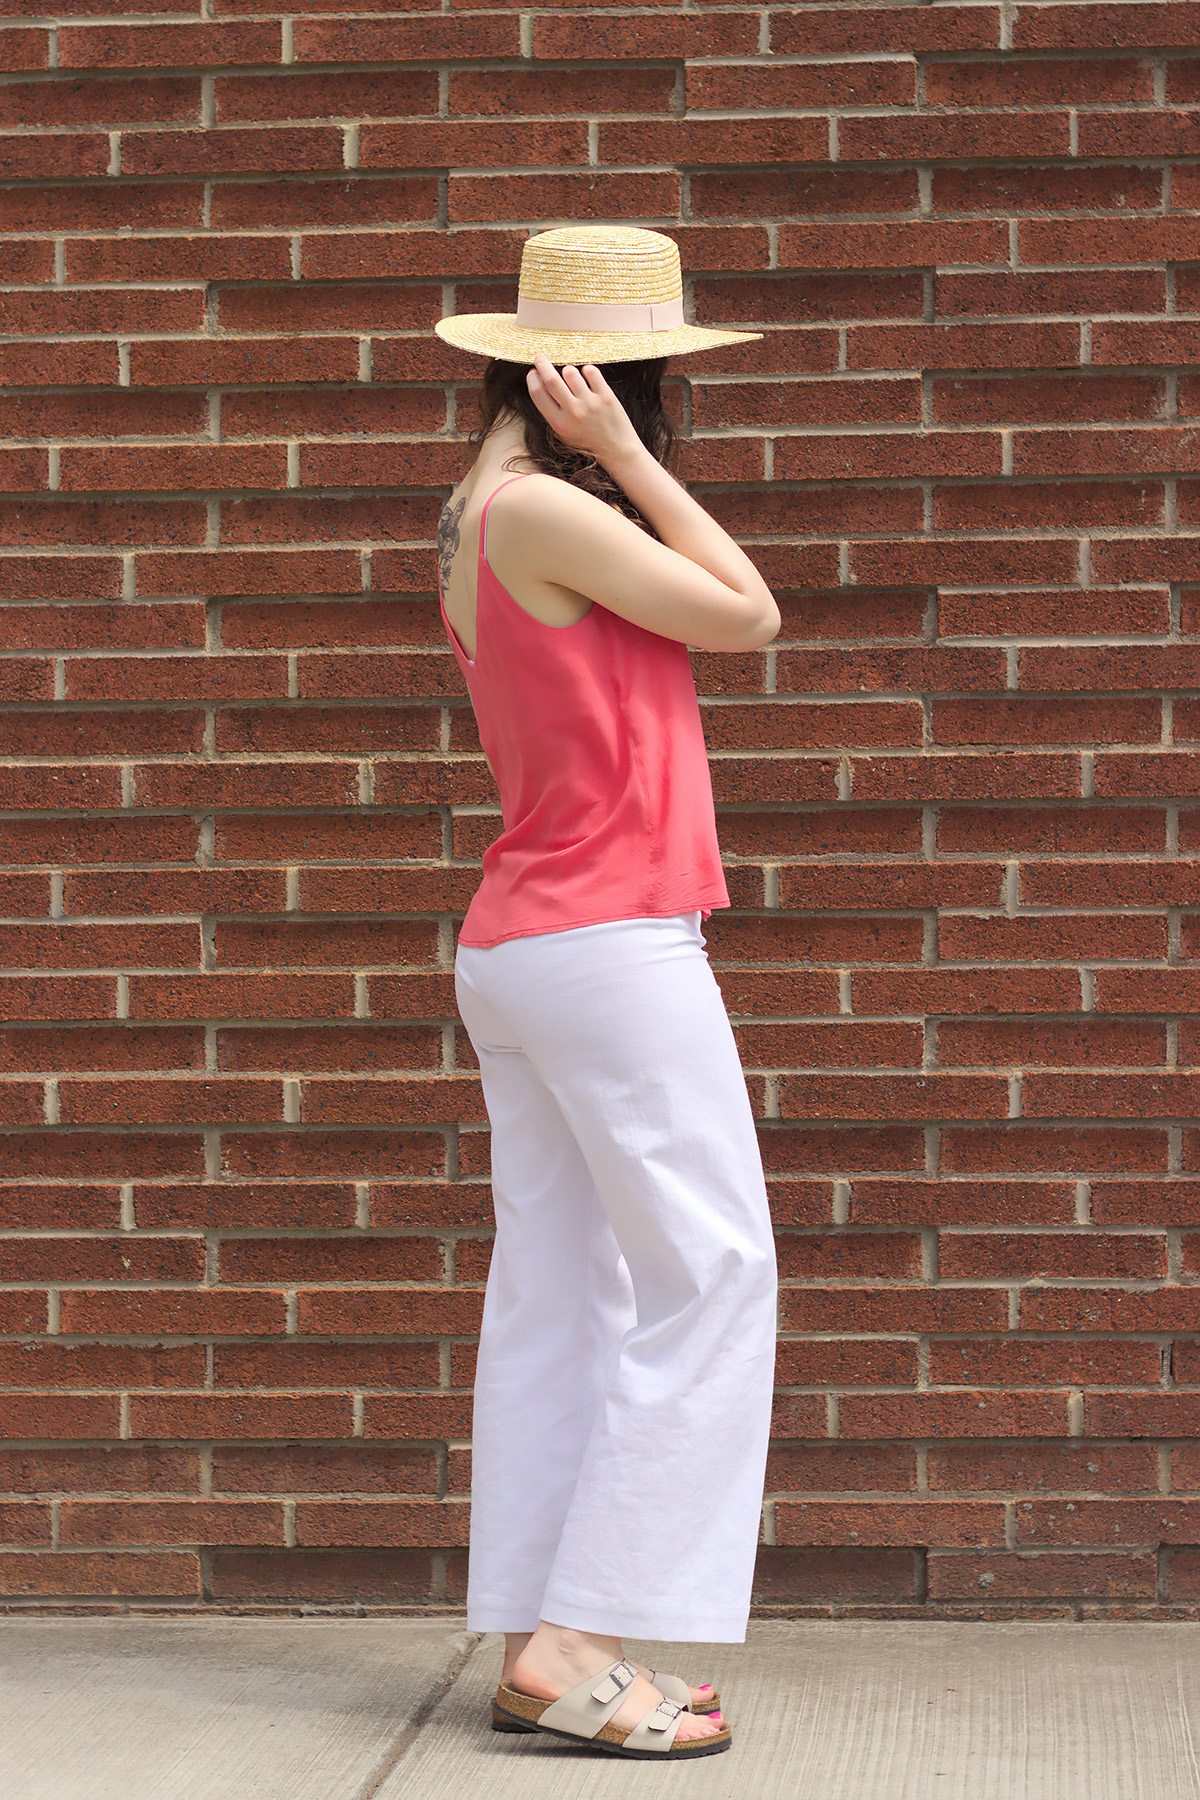
To be honest I’m having a hard time figuring out how it’s actually supposed to fit: 99% of the versions I’ve seen have these big horizontal drag lines at the low hips, like the pants are too tight, which makes me think that it’s part of the look. Same for the back: it’s very tight under the butt, and with any other pair of pants I would think they’re too tight, but looking at all these versions it looks like that’s how they’re supposed to fit…
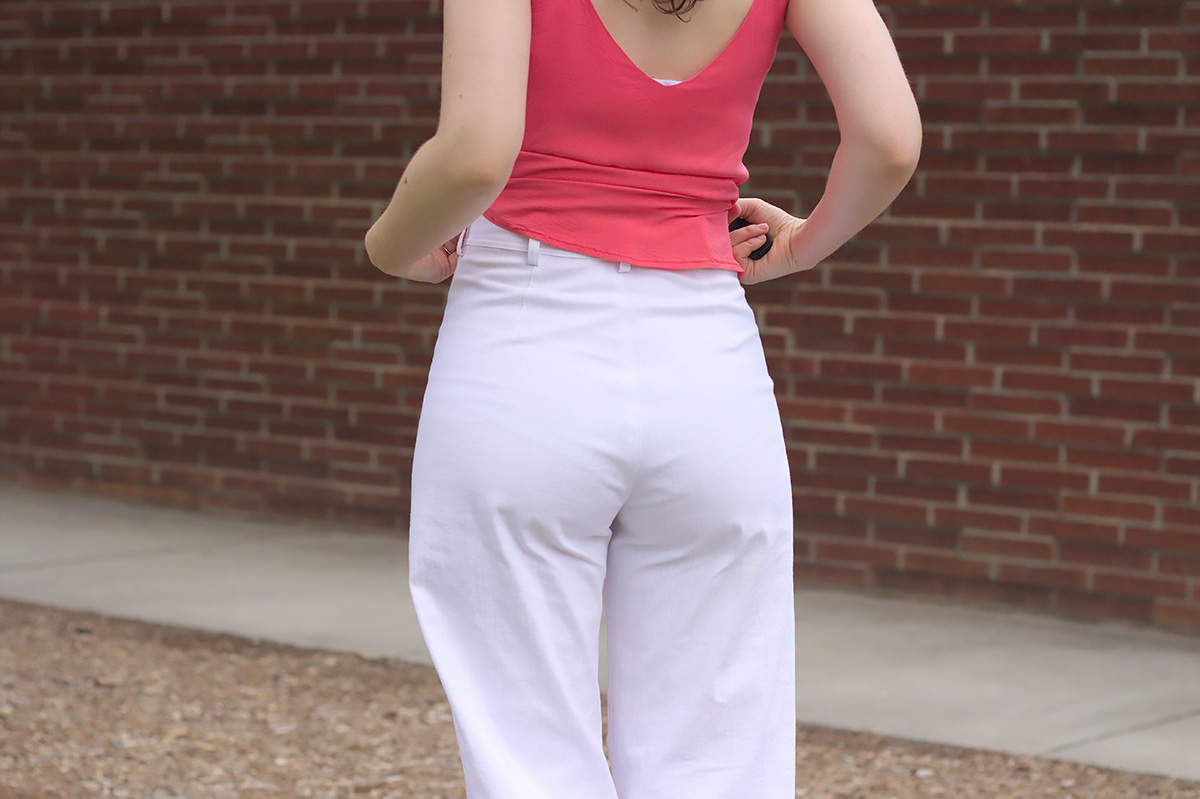
I don’t mind the look of the back, I actually think it looks pretty good, but practically speaking it’s definitely lacking some back pockets. I don’t know where to put my phone! On the other hand, the front pockets are completely useless. The pants are too tight at the hips to to be able to put my hands in the pockets (not even trying to slide in aforementioned phone or just a paper tissue) and it’s a struggle to get them to lay nicely every time I put on the pants.
It’s hard to decide what size I should cut if I were to make a new version: these are way too tight at the hips but slightly too big at the waist. I think I would need a size 8, or even rather 10 at the hips, but keeping a size 4 at the waist: grading would be a mess! I would also increase the rise by 2 cm to avoid that dreaded camel toe effect, and I think that I would not remove the 5 mm from the front crotch this time. And most of all, I would skip these silly front pockets!
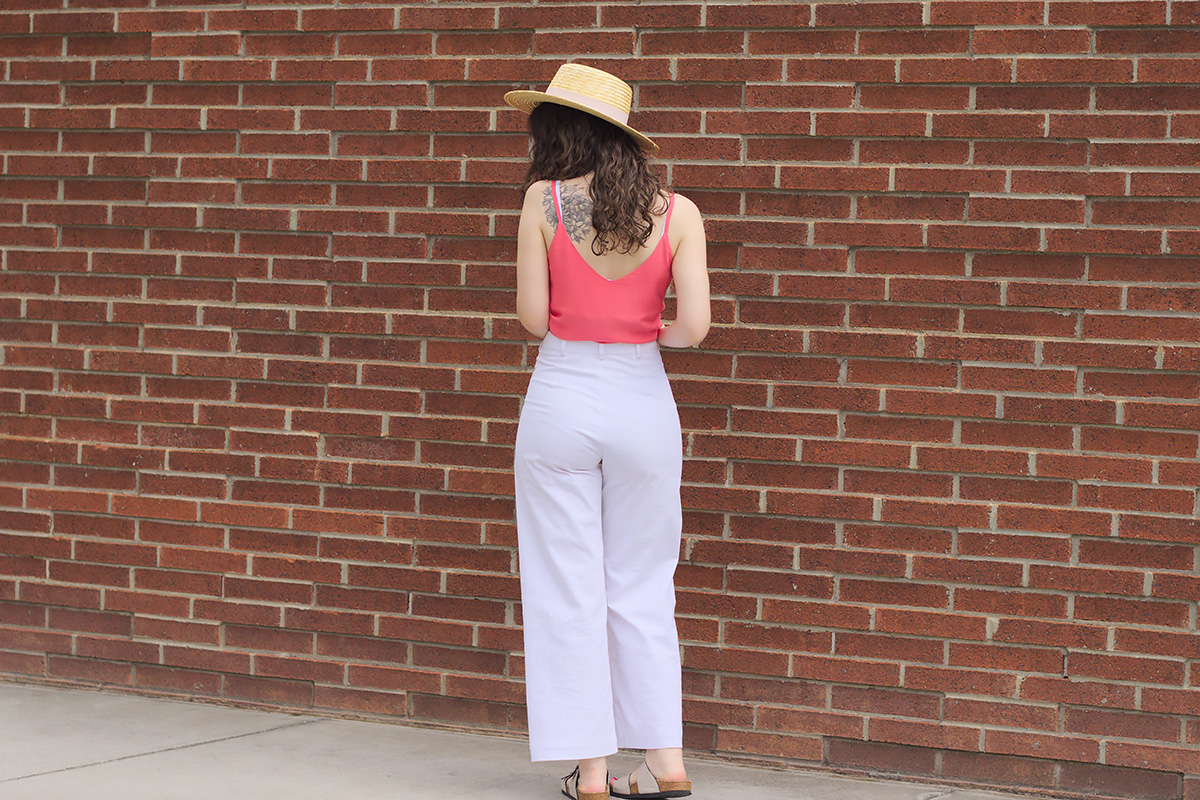
It’s a shame that you haven’t been able to get much wear out of them, because white jeans/pants in spring and summer is such a cute look! I’m glad you warned about the button fly, though, because I would definitely be tempted by it and then annoyed with any pulling or gaping. Actually, I appreciate how honest your review is overall—a friend had offered to get me a copy of this pattern as a gift, and your commentary on the fit has confirmed that I wouldn’t love it for myself. This is one trend I think I’ll be happier to enjoy from a distance!
I’m glad this was useful! There’s definitely good things about this pattern, but I think if I were to make another pair of pants in this style I’ll use something else, for instance the Dawn jeans from Megan Nielsen that come with a zip fly option.